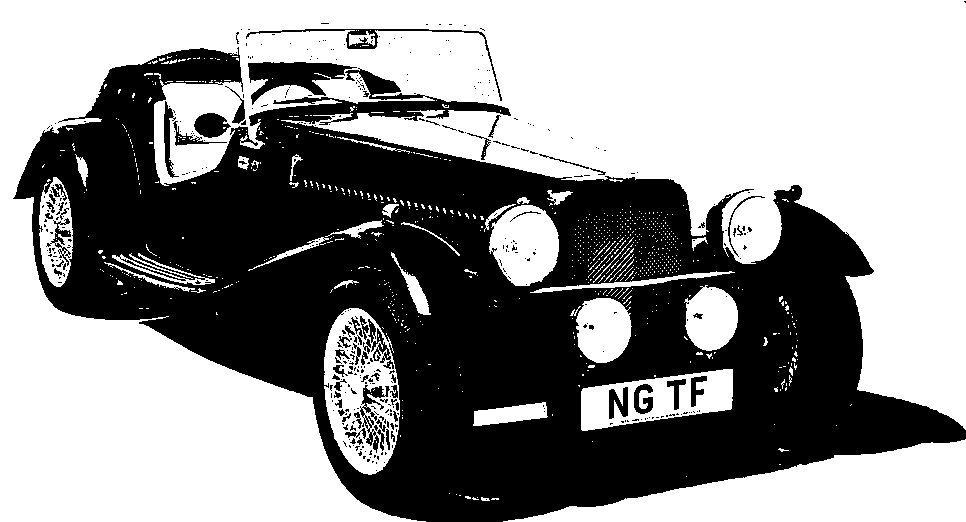
NG Kit Car
21.2 Front Seats & Belts
Front Seats
The front seats were supplied as more or less complete units. A set of runners have to be bolted on (with spacing washers to keep them clear of the upholstery) and a seat belt guide has to be attached to the top (photo 1). For the latter, one has to feel carefully through the seat vinyl for the threaded hole and then make an incision! The guides were then bolted on.
The seats with their runners were fixed through the floor to the chassis. I made up aluminium spacers to carry the runners above the surface of the carpet. They were 15mm thick (thickness of carpet + underlay) and 19mm diameter, with holes drilled to take the 8mm fixing studs.
Seat Belts
Seat belts are an important safety factor, of course, and are fitted directly to the chassis through the body. Front belts are Securon type 514/30 (3-point with adjustable retractor angle and 30cm stalk). Suitable rear belts would be type 2220 (2-point) if fitted.
Front Floor Mountings
There are 4 forward seat belt mountings (2 for each seat) which have corresponding tapped holes in the chassis. Holes cut in the floor of the GRP body shell must be big enough to accomodate standard seat belt spacers and in some places the GRP thickness must be sanded away so that the L-shaped brackets with spacers can be bolted securely to the chassis. The upright part of each L-bracket faces away from the seat (with the exception of the left inner one). A belt stalk is fitted to each inner bracket and the lower end of a belt is fitted to each outer bracket.
For the left inner bracket to face away from the seat, a large hole would have been needed in the side of the transmission tunnel. By reversing this bracket, a much smaller hole was needed (photo 2) and this was fibreglassed on the outside to seal out the weather.
As can be seen from photo 3, the belt stalk is attached from the tunnel side of the bracket (there is only just room once the carpet is in place) so, despite the reversal, the stalk ends up in roughly the same place.
Inertia Reel Mountings
The inertia reel itself is bolted through to the cross rail of the chassis which sits above and just behind the rear axle (photo 4). I found that two seat belt spacers were needed on each of these mountings. Each inertia reel has two adjusters to compensate for the angle of mounting.
The final part of the fitting was to thread the belts through the guides on the top of the seats.


