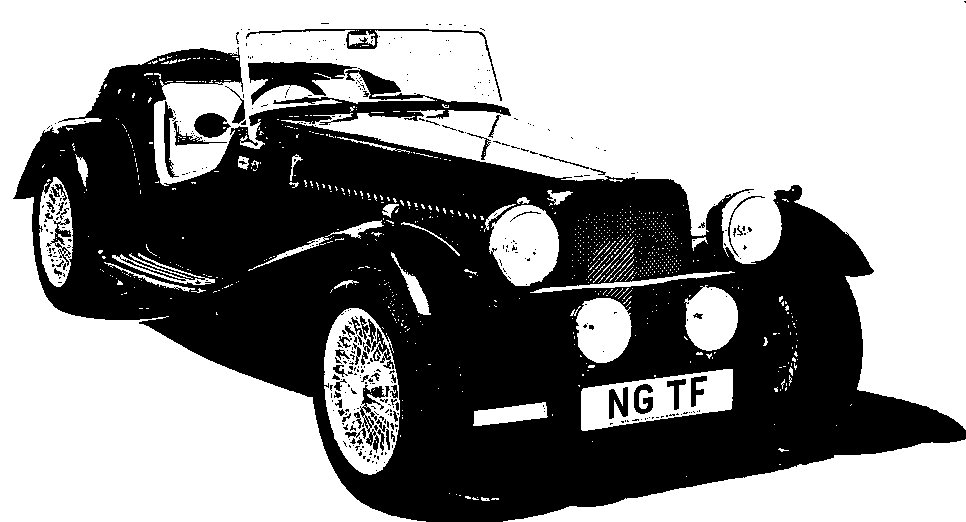
NG Kit Car
23 Hood
Hood Frame
The frame for the hood consists of two hoops mounted by aluminium hinges onto the body. The front one is articulated with lay bars. Each pair of hinge halves is connected with a roll pin (photo 2).
For the rear hoop, one part of each hinge is bolted to the top flange of the body and the other is a push-fit in the end of the hoop. A small punch was used to help the hoop grip more securely. A pair of c-clips locates the hoop when down (photo 3).
For the front hoop, lay bars are attached with push-fit hinges and then the other ends of the lay bars are fixed to the body in the same way as the rear hoop. A pair of c-clips locates the lay bars when the hoop is up. The ends of the lay bars are recessed to receive the hinges but not deeply enough so I found it necessary to cut the length of the hinges down to fit. Webbing loops are provided which were secured to the hoops by self tapping screws once the best position was found (photo 4).
Hood Studs
My next job was to replace the hood studs on the body (I had left these off for SVA as a precaution) and then the rear of the hood was fitted by marking and fixing the hood clips starting in the centre and working round each side (see Lift the Dot Fasteners).
Hood Rail
The next stage was to fit the hood rail (which is supplied as part of the hood kit) to the screen. The hood rail becomes a permanent part of the hood itself and clips to the screen with over-centre catches. Although the rail is shaped to clear an interior mirror, it needed a cut-out to properly fit around it (photo 5). The ends of the rail have welded flanges on which to fix the over-centre catches (photo 6). Once positioned, the holes for the catch are marked on the rail flange (using masking tape), which is then drilled and tapped so the catch can be screwed securely to it (photo 7).
Once the hood rail was fitted to the screen, the hood could be pulled taught and marked underneath (photo 8). Using contact adhesive, the hood was then glued to the front upright face of the rail (photo 9). This requires a fair amount of care to get right, especially the ends which were re-glued once or twice. The hood fabric was then trimmed, turned and glued on the inside front face and the inside top (photo 10). Another strip of hood fabric (supplied) was then glued to the outside top, outside rear face and inside rear face, thus completing the 6 surfaces of the u-shaped channel (photo 11). To complete the hood fixing, a foam rubber self-adhesive sealing strip was added inside the channel. This makes a good seal and tensions the catches (photo 12).
The finished hood was then ready for the Side Screens to be added.


finished
