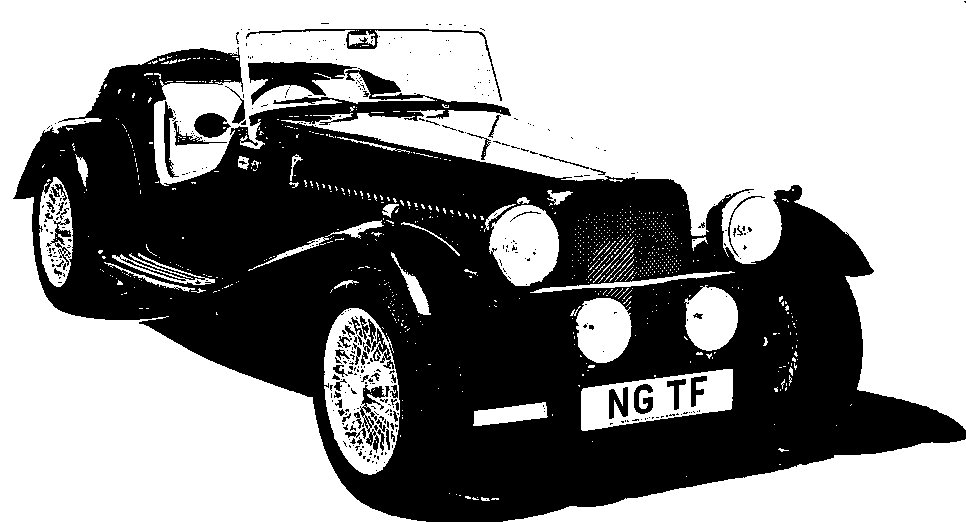
NG Kit Car
7 Steering
I decided to fit a new steering rack (NG recommend this to improve the feel of the car) rather than a reconditioned unit The difference in cost between 'new' and 'reconditioned' was diminished as MGB Hive had a special offer on new racks at the time.
When placed on the mounting brackets on the cross-member, the rack did not clear the underside of the chassis and could not be bolted on. Studying it carefully (and referring to NG) I decided that a chamfer was needed. With careful masking and grinding I was able to make a bevel on the housing of the rack so that it just cleared the chassis and was able to be bolted on (photo 1).
After fitting the torque braces (see Chassis Particulars), a special steering support bracket and bearing (supplied by NG) must be fitted. This requires very careful measuring, marking and drilling of the offside torque brace (photo 2).
The track rod ends were wound on to the rack, keeping the number of turns the same for each side. At this stage the alignment was only set approximately using a tape measure. I obtained from NG some (rather flimsy plastic) covers which go over the track rod locknuts to make them compliant with the SVA (Single Vehicle Approval) test.
One steering column universal joint (from the donor vehicle) was reconditioned using a new central journal assembly. The method is identical to that for replacing the prop shaft universal joints. As can be seen in photo 3, the new cups can be carefully pressed in with a vice. However, the NG requires two U/Js with a column extension in between so I purchased a second U/J.
For details about the column brackets, dust cover and steering wheel, see the Steering Particulars page.
Once the column was finally aligned (i.e. after positioning dash and steering boss), the column extension was cut to the correct length. This extension joins the column to the pinion shaft on the rack (see photo 4).
To set the alignment rather more accurately than with a tape measure I designed a simple Wheel Alignment Tool which is easy to make and use.

showing bevel

fitted to torque brace


showing bevel