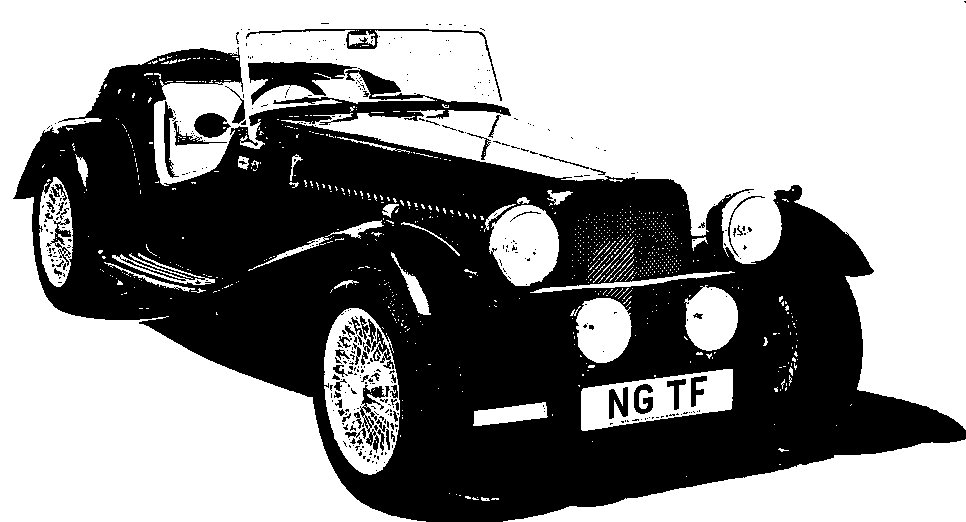
NG Kit Car
11.2 Carburettors
Here I fancied a bit of a challenge! My donor carburettors are SU HS4s and new ones are not cheap so I decided to recondition them. I had never stripped an SU carb completely down before so I thought it about time I investigated how they really worked! I took everything apart and thoroughly cleaned it. I replaced jets, needles, floats, throttle spindles, discs, etc. and, yes, I did find out how it all works. I just had to shine up those dashpot covers too! One bit of advice though - only do one carb at a time (photo 1). Then you can use the other for reference! The service kit came with very useful instructions and diagrams too.
Carburettor Spacer Blocks
There is apparently insufficient room under the NG bonnet for the carburettors and air filters to be fitted with the standard spacer blocks. NG supply (in the fuel system kit) cut down blocks (8.5mm instead of 29mm), shorter carb fixing studs and pancake style air filters. Unfortunately, I found that this brought the throttle control lever too near the exhaust manifold so I have made up some slightly thicker (11mm) carb spacer blocks which just provide enough clearance for the throttle.
Accelerator & Choke Cables
The accelerator cable runs from the footwell top (using a standard MGB pedestal - photo 3) to the carburettors and is clipped on the way.
The choke fits to the special bracket supplied by NG which attaches to the steering column brackets (photo 4 - and also supports the wiper motor). The other end is then taken through the bulkhead and routed to the carburettors.
Once the car was in use, I found the choke tended to release itself despite the twist/lock action. I cured this by releasing the top end of the outer cable and rotating it anti-clockwise two turns. This wound the cable up so it was happier in its locked state.

before and after

installed


before and after