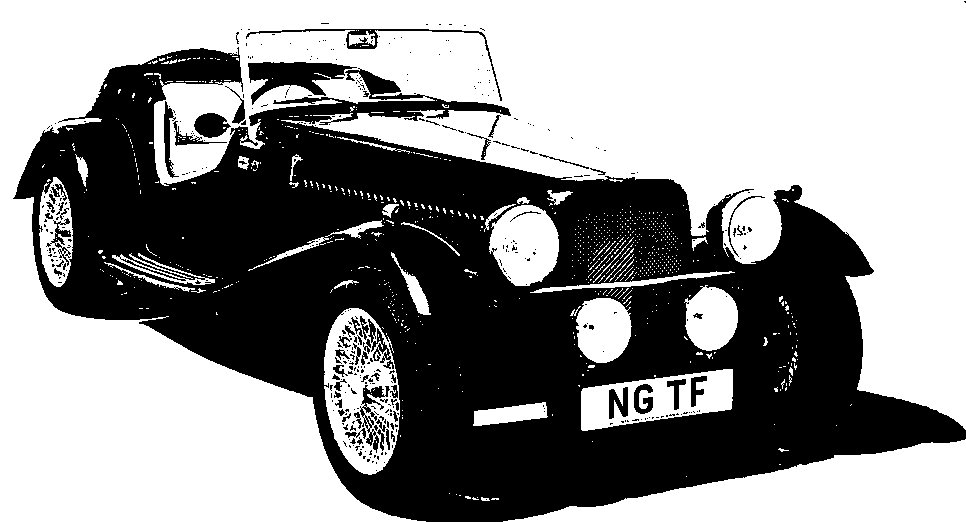
NG Kit Car
21 Interior Trim
Colour
My choice of colour for the inside is Wadi Beige vinyl with green piping and the carpet is Ochre. Vinyl was chosen as being more resilient to rain than leather! All the interior materials were supplied by NG.
Formers
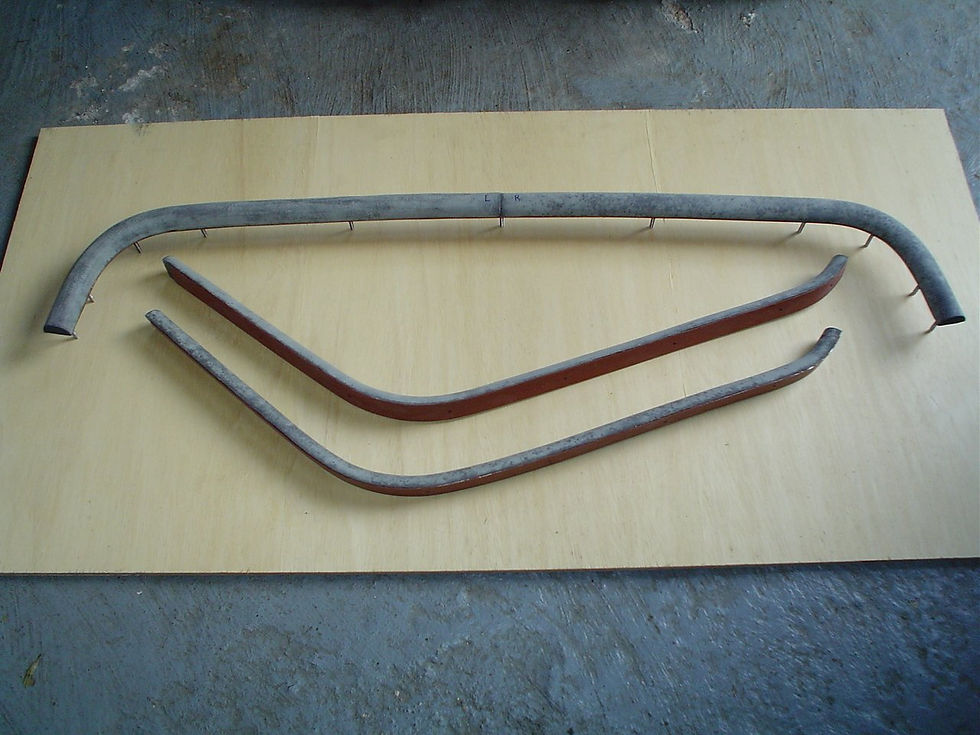
Before final fitting I covered the formers to match the rest of the upholstery. First, half round rubber cushions were glued on to the formers (photo 2) with contact adhesive. A strip of upholstery vinyl was glued to the inside underneath edge of the dash former (photo 3) with a few snips to help it around the corners. The vinyl was then eased, stretched and glued over and around to the other edge leaving a few cm unglued at each end (photo 4). After some considerable fiddling, trial, error and choice words I managed to glue the trimmed ends (photos 5 & 6).
The process was repeated (including the choice words) for the side formers. Vinyl piping was added to the outside edge of the formers when they were fitted (photo 7) using the same method as for the wing piping (see Front Wings).
For attachment details of the formers see the Dashboard section.
Side Panels
The side panels come as complete pieces with padded vinyl and carpet sections. They are a good fit and require only minor trimming of the carpet in the bottom corners. I also stuck some small pads to the reverse of each front carpet section to help reduce any vibrations.
The panel is fitted by sliding the top up under the arm cut-out return lip and then pushing the base in at the bottom where the carpet overlaps onto the floor. Once happy with the fit, I removed it and used some spray contact adhesive along the bottom and front edges which secured it all rather nicely (photo 8).
Underlay
I decided to use underlay beneath some carpet sections to improve the feel and wear resistance and to act as sound deadening. I obtained a roll of foil covered felt from Moss Europe (described as Heatshield Insulation) which has the added bonus of reflecting heat. This was quite easily cut to shape and stuck inside the cockpit with spray adhesive. I used it over the transmission tunnel and gearbox (photo 9), the footwell fronts and the sections of floor but did not use it near corners where there would already be two layers of carpet overlapping. Each section was tackled after the previous one had been carpeted.


