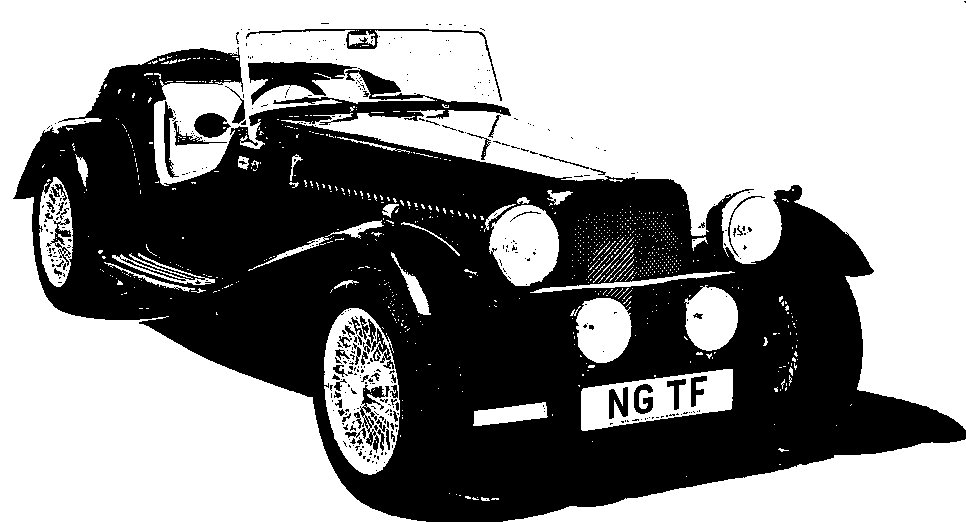
NG Kit Car
17.3 Switches
The switches are mainly as found on the MGB.
The heater controls were cleaned up and new knobs purchased for a fresh look. The controls are mounted in a plate fixed behind the dash (see Dashboard).
The 5 main switches for heater fan, wipers, lights, front driving lamps and rear fog lamps are also mounted in a plate fixed behind the dash. Initially, the wiper and lights switches were both Lucas parts but the others were pattern ones. Unfortunately the switches did not all line up when off! So I replaced the pattern ones with proper Lucas switches and now they line up correctly. All the switches are simple to connect up to the loom (photo 1).
The 3 leftmost main switches will not pass the SVA test as they protrude more than 9.5mm from the surrounding surface. I replaced them temporarily with some smaller ones (see SVA Particulars).
The hole in the dash for the washer button is 19mm approx. The only button I could find to fit this (initially) was an 18mm one from Demon Tweeks. However, later I found a better looking stainless steel one from Vehicle Wiring Products.
The overdrive switch is a standard 'B' part and fits into an extra hole drilled on the right side of the dash (photo 2).
The ugly duckling of the dash is the hazard warning switch. Most of these tend to be modern looking and/or rectangular. At least the one I obtained (from Vehicle Wiring Products) has a plug which takes latched spade connectors. This makes it simple to fit once the right wires from the loom are identified and put into the plug. I decided to also fit this into an extra hole drilled on the right side of the dash (photo 2).
Indicator Switch
There is a prescribed modification to the "standard" MGB indicator switch so that it protrudes through the dashboard. It is also fitted on the left of the steering column rather than the right (photo 3).
The modification involves cutting off most of the original arm, stripping the plastic coating and securing the supplied cranked arm with grub screws (photo 4).
The turned aluminium handle is a very tight fit on the cranked arm! In fact, I had to ream out the hole slightly with a drill (not quite to full depth) and file a small taper on the end of the arm. With a gentle tap it wedged on nicely (photo 5).
I also found it necessary to modify the self-cancelling mechanism as it did not reliably cancel the switch. I riveted on a small extension piece to the standard clip and this was then fitted with a screw and lock-nut to provide some adjustment. The horn contact is on the indicator bracket (photo 6).

with heater controls on the left

with hazard w/l switch below

modified mechanism

with heater controls on the left
Warning Lights
The speedometer houses a main beam warning light and the tachometer houses an ignition light. There are 5 additional warning lights for left indicator, front driving lamps, brake warning (low fluid & handbrake), rear fog lamps and right indicator. These are all a push fit into the dash above the steering column and are simple to connect (photo 3).